My original idea for the viral advert was to be an advertisement for Starbucks. It was to feature a man walking down the street followed by him randomly shooting up into space, he was to fly around for a few seconds until he got hit by an 'asteroid'; said asteroid would be revealed to be the Starbucks logo.
I was about to begin production on this idea to make it a reality, however I was advised against it due to there being no live-action footage involved. The plan was for it to be totally animated although this was apparently not what Ollie was looking for.
My second (and final) idea was an advert about my FMP (The Box) because it is something I am close to and would therefore be more eager to advertise. This will also add to the Final Major Project assignment as extra work by the means of promoting my FMP.
Although I only had two ideas, the mind map was filled by alternative versions of each advert before I finally decided on an advertisement for my FMP with a humorous
voice over and numerous explosions (effectively combining two of the ideas on my mind map)
I planned to create said viral advert entirely in After Effects although this proved to be somewhat of a task for me so I created, rendered and exported the necessary After Effects elements then placed them into Premiere Pro CS6 to edit them in with shots from my FMP, when the shots and the text animation were placed and the voice-over added, I then rendered it and exported it. I then uploaded the Viral Advert to YouTube and added the video link to Blogger.
Showing posts with label Viral Marketing. Show all posts
Tuesday, 3 June 2014
Sunday, 1 June 2014
Friday, 16 May 2014
Wednesday, 2 April 2014
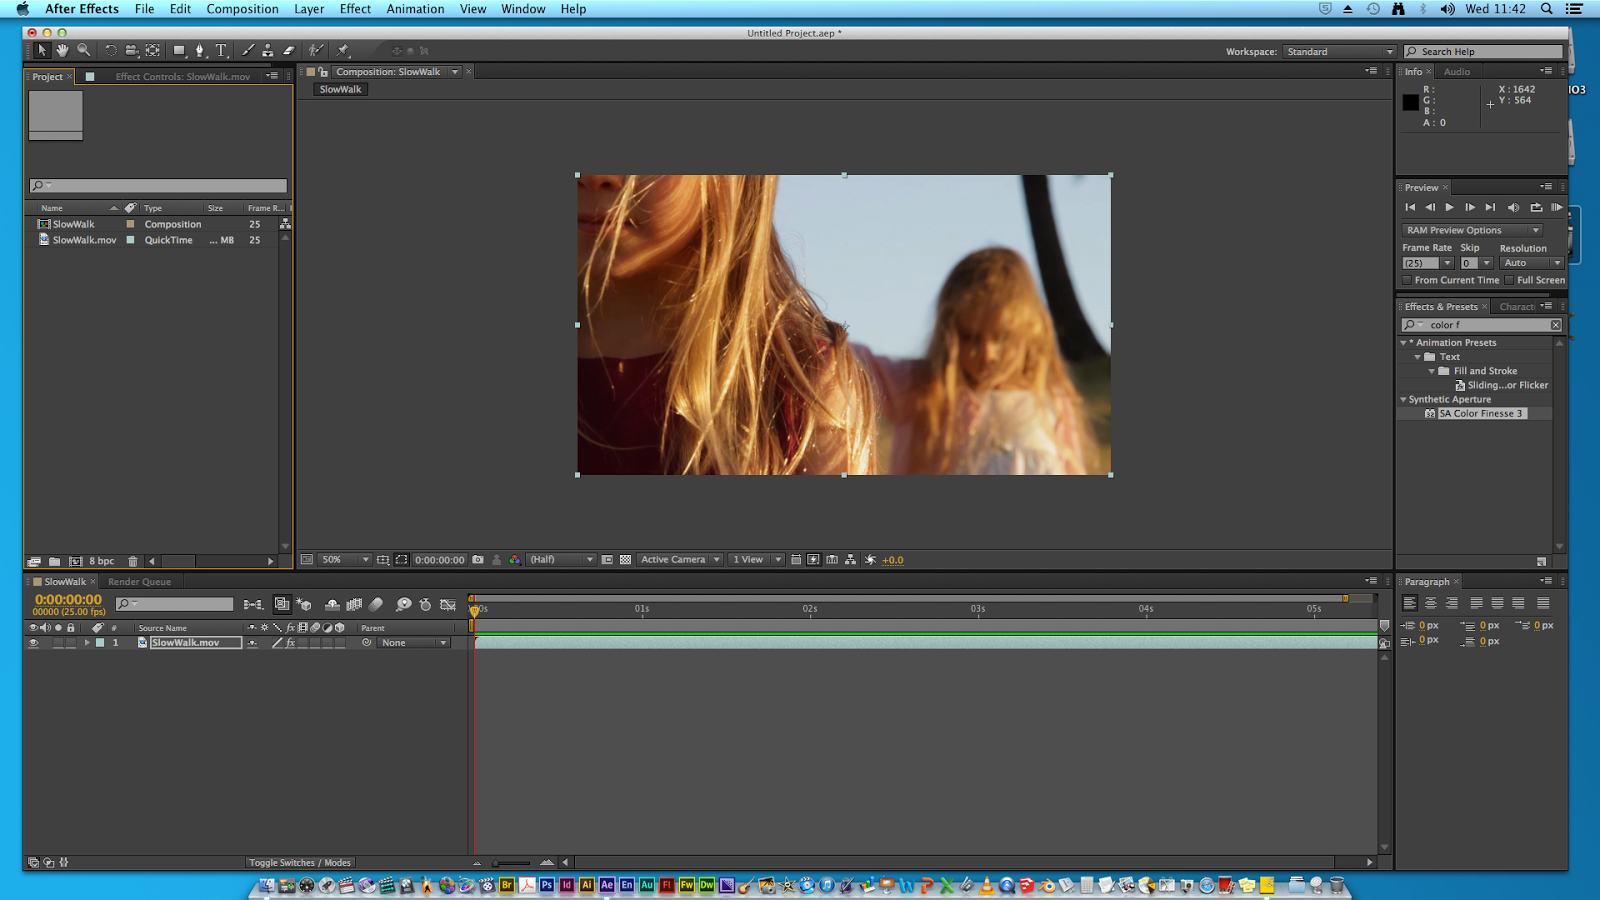
Colour Finesse


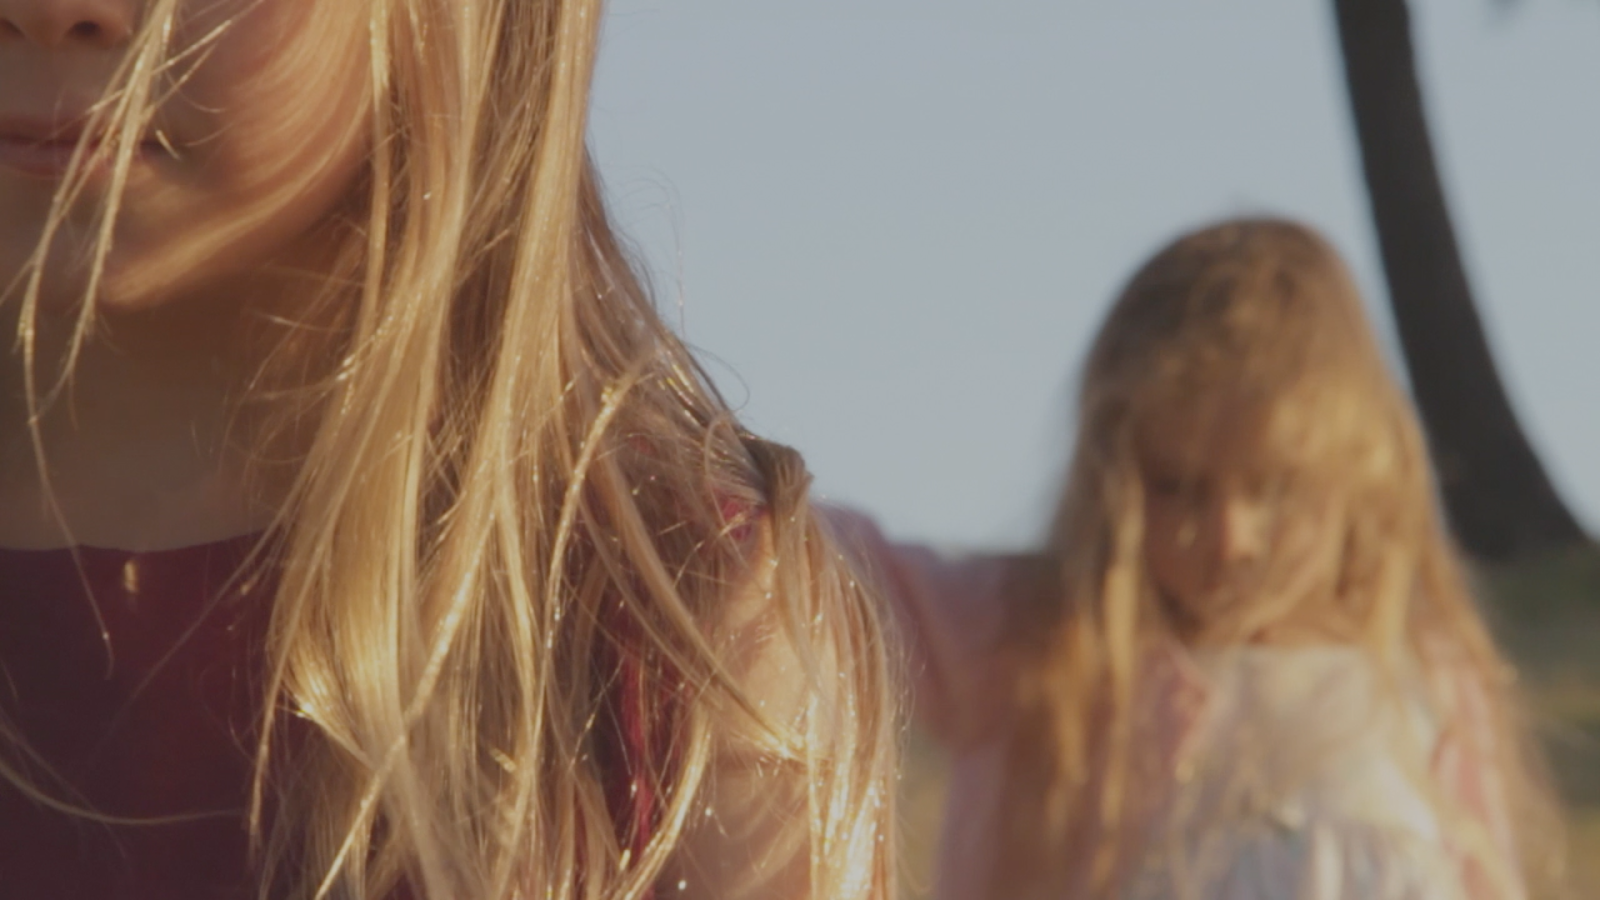
Here is the shot before colouring, as you can see and after colour correcting.
To do this, I was required to change the gammar (the red, the green and the blue)
the pedestal and the gain to cause the brightness change.
Although I needed to play about with it in order to get it right.
As with the above, I need to adjust the Gammar RGB (red, green and blue)
Wednesday, 12 March 2014
Formats Case Study
Formats:
MPG is a standard for lossy compression of video and audio. It is designed to compress VHS-quality digital video and audio down to 1.5 Mbit/s without excessive quality loss, making video CDs, digital cable/satellite TV and digital audio broadcasting possible. It is the most common format when it comes to internet video (YouTube or any other video sharing site)
MP4 is a digital multimedia format most commonly used to store video and audio, but can also be used to store other data such as subtitles and still images. Like most modern container formats, it allows streaming over the Internet. The only official filename extension for MPEG-4 Part 14 files is mp4 but many have other extensions, most commonly m4a and m4p. M4A (audio only) is often compressed using AAC encoding (lossy), but can also be in Apple Lossless format.
MOV (also known as a 'Quicktime file format') is the video format most suited for editing, it was developed by Apple and enables you to import and edit in place without data copying.
AVI is a video format made by Microsoft and is therefore commonly used in PC's.
Data rate - How quickly the image data is transferred between different sources.
Frame rate- The number of frames per-second in a composition/rendered file.
Keyframe rate - The rate that dictates the beginning and end point on any animation.
QuickTime is a multiplayer for sound or video that can be used by both an Apple Mac and a Microsoft PC; it can be made in an editing software such as something similar to final cut pro (found on a Mac)
Windows Media Player was developed by Microsoft and is used to play audio/video files (very similar to Quicktime on Macs, Media Player is like a Quicktime for PC)
The above short film trailer is by YouTuber, Bertie Gilbert.
YouTube supports the formats:
MPG is a standard for lossy compression of video and audio. It is designed to compress VHS-quality digital video and audio down to 1.5 Mbit/s without excessive quality loss, making video CDs, digital cable/satellite TV and digital audio broadcasting possible. It is the most common format when it comes to internet video (YouTube or any other video sharing site)
MP4 is a digital multimedia format most commonly used to store video and audio, but can also be used to store other data such as subtitles and still images. Like most modern container formats, it allows streaming over the Internet. The only official filename extension for MPEG-4 Part 14 files is mp4 but many have other extensions, most commonly m4a and m4p. M4A (audio only) is often compressed using AAC encoding (lossy), but can also be in Apple Lossless format.
MOV (also known as a 'Quicktime file format') is the video format most suited for editing, it was developed by Apple and enables you to import and edit in place without data copying.
AVI is a video format made by Microsoft and is therefore commonly used in PC's.
WMV (windows media video) was developed by Microsoft and used in all Windows systems to add the file to the internet.
FLV is similar to WMV in the sense that is can be used to send videos over the internet, the only difference is that unlike WMV, FLV uses adobe flash player.
Shockwave flash (SWF) is used for uploading small videos to a video sharing site. It has a similar function to WMV and FLV.
3GP is a multimedia container format used to stream audio and video files; Available on 3G mobile phones but can also be played on some 2G and 4G phones.
ASF files (Advanced Systems Format) were devolved by Microsoft and are specificlly meant for streaming audio files used in video games.
Resolution - The video quality. This is dictated by the X and Y.
Data rate - How quickly the image data is transferred between different sources.
Frame rate- The number of frames per-second in a composition/rendered file.
Keyframe rate - The rate that dictates the beginning and end point on any animation.
4:3 - Standard size for any traditional television or computer monitor
16:9 - HD (high definition) video in the UK or any digital broadcast TV in the US
Flash Player - Used to play almost any animation video found on the internet.
QuickTime is a multiplayer for sound or video that can be used by both an Apple Mac and a Microsoft PC; it can be made in an editing software such as something similar to final cut pro (found on a Mac)
Windows Media Player was developed by Microsoft and is used to play audio/video files (very similar to Quicktime on Macs, Media Player is like a Quicktime for PC)
RealMedia is used to stream audio and video over the internet, like a virtual Media Player or Quicktime available for the internet itself.
The above short film trailer is by YouTuber, Bertie Gilbert.
YouTube supports the formats:
- .MOV
- .MPEG4
- .AVI
- .WMV
- .MPEGPS
- .FLV
- 3GPP
- WebM
Wednesday, 12 February 2014
Wednesday, 5 February 2014
Motion Tracking Mountain
To do this effect I was required to edit both of the elements together, an image and a video. For the image I used photoshop to feather out the edges so it would blend better into the video footage.
Next motion tracking was required to make sure the mountain followed the movement of the camera.
Wednesday, 22 January 2014
Formal Elements of Motion Graphics
Doctor Who - 50 years teaser trailer
2D elements - Multiple promotional images took during production of various eras of the show.
These elements were then put on the X, Y and Z axis and added into a montage of various characters from the shows current production and history moving onto then leaving the screen as the camera slowly zooms past.
3D elements - The advert finishes with the inclusion of 3D elements (i.e The sonic screwdriver, Matt Smith and the text at the end) In some cases 3D elements are blended with 2D elements by transitions so subtle they are almost unnoticeable (0.23) they were again on the X and Y axis but also the Z as the Tom Baker GCI model revolves as the camera pans by.
Alpha Channels - Information about colour in After Effects is stored within three channels: red, green and blue. An image can include an invisible fourth channel too, this is known as an alpha channel and it contains information on transparency. Sometimes, such an image is referred to as an RGBA image, indicating that it also has an alpha channel as well as the ordinary channels. An image with no alpha channel is simply called a RGB image.
Mattes - When you look at an alpha channel in the composition panel of After Effects; white indicates complete opacity, black is complete transparecy and grey is a little transparency. Mattes would have been used for everything you see in this advertisement except in the background (that being completely CGI and/or stock footage) as Matt Smith would have been acting against a greenscreen and everything else was either images (the original background would be white on an alpha channel)
Keyframes - Within animation, keyframes are used to pin-point every single little bit of movement an object makes. The less keyframes, the less organised the movement is. However the more keyframes a composition has then the smoother the animation will be. Due to the sheer amount of animation in this advert, keyframes had to be used for every image featured. It is likely that the software used tracked the movements of the fake camera and generated keyframes to correspond with them.
Composite Modes - In the Modify menu there are many options that allow you to combine two (or more) images, this is what is known as a composite mode.
Layers - Elements that make up a composition, any image, video or audio element in a composition is called a Layer.
These elements were then put on the X, Y and Z axis and added into a montage of various characters from the shows current production and history moving onto then leaving the screen as the camera slowly zooms past.
3D elements - The advert finishes with the inclusion of 3D elements (i.e The sonic screwdriver, Matt Smith and the text at the end) In some cases 3D elements are blended with 2D elements by transitions so subtle they are almost unnoticeable (0.23) they were again on the X and Y axis but also the Z as the Tom Baker GCI model revolves as the camera pans by.
Alpha Channels - Information about colour in After Effects is stored within three channels: red, green and blue. An image can include an invisible fourth channel too, this is known as an alpha channel and it contains information on transparency. Sometimes, such an image is referred to as an RGBA image, indicating that it also has an alpha channel as well as the ordinary channels. An image with no alpha channel is simply called a RGB image.
Mattes - When you look at an alpha channel in the composition panel of After Effects; white indicates complete opacity, black is complete transparecy and grey is a little transparency. Mattes would have been used for everything you see in this advertisement except in the background (that being completely CGI and/or stock footage) as Matt Smith would have been acting against a greenscreen and everything else was either images (the original background would be white on an alpha channel)
Keyframes - Within animation, keyframes are used to pin-point every single little bit of movement an object makes. The less keyframes, the less organised the movement is. However the more keyframes a composition has then the smoother the animation will be. Due to the sheer amount of animation in this advert, keyframes had to be used for every image featured. It is likely that the software used tracked the movements of the fake camera and generated keyframes to correspond with them.
Composite Modes - In the Modify menu there are many options that allow you to combine two (or more) images, this is what is known as a composite mode.
Layers - Elements that make up a composition, any image, video or audio element in a composition is called a Layer.
Thursday, 12 December 2013
Idents case study
The design of the BBC ident has changed over the years, the one constant has been the white text and a circular logo which has remained virtually the same since 1953. The purpose of the ident (and all idents for that matter) is to let the viewers know what channel they are watching so that they ident-ify the channel. Unlike the BBC, the Warner Brother's idents change depending on the genre/style of the movie, the purpose in all these cases is to let the audience know what kind of movie they are watching or to simply not ruin the feel of the movie; if the movie was dark and serious then it would make no sense to have the ordinary Warner Brother's ident because it would destroy what emotion the movie was attempting to get across to the audience. The audiences for both the BBC and Warner Bros are around about the ages 15 - 28. Both companies aim their material at families for family viewings.
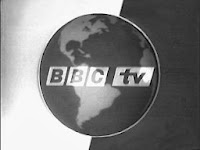
Here is one of the first versions of a BBC ident that debuted in 1960. This was most likely done through a small 3D globe physically rotating with BBC logo in front of it. CGI had not yet been developed so making a virtual globe was impossible, a physical model is more likely.
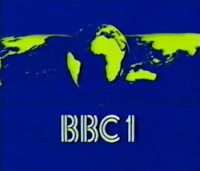
This logo ident debuted in 1980 and was created (like the above) was made by taking a 3D model of a globe, rotating it while it was in front of a mirror and placing a BBC logo in front of the camera. As the globe rotated the background (the reflection of the mirror) would also rotate. An earlier version of this logo (which originally debuted in 1969) was recreated with CGI in 2007 to introduce series 2 of Life On Mars, the show was set in the 1973. This version's movement was made using key-frames (making a slight movement every frame)
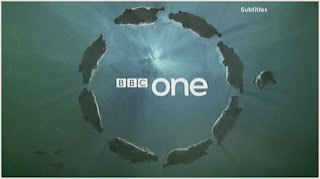
This ident was introduced in 2006 and was made using a CGI software (as it was now available, as opposed to the models used years before)
The BBC have now adopted using circles in their indents compared to the earth indents used previously. The hippos (seen on there left in one of the many variations of the circle ident) are circling around the BBC logo, they are most likely on the X and Y axis.
This is the standard WB (Warner Brothers) logo. It was made in a 3D modelling software (possibly similar to After Effects)
The clouds the logo normally appears from were also possibly computer generated. The logo and the clouds are two separate layers,
both the clouds and the logo are on the Z and Y axis, with the clouds slowly moving across the screen (Y) and the logo zooming out and rotating downwards to face the virtual camera (Z) The music would also be on a separate layer.
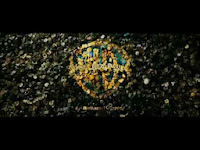
This is a variation of the WB logo used in the movie 'The curious case of Benjamin Button', the logo is formed out of buttons that fall from the above. The buttons were most likely animated by a program similar to After Effects whereby a single button was animated in a falling motion (on the X axis) and was duplicated with varying colours. The animation is also different compared to the origional logo.
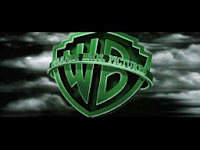
The final variation I will be talking about is the WB logo from The Matrix. The logo has the same animation as the standard one (the clouds slowly moving across the screen and the logo zooming out and rotating downwards to face the virtual camera) although the clouds are much darker and more like lightning-type ones and the entire logo is green; to continue the theme of the movie.
Here is one of the first versions of a BBC ident that debuted in 1960. This was most likely done through a small 3D globe physically rotating with BBC logo in front of it. CGI had not yet been developed so making a virtual globe was impossible, a physical model is more likely.

This logo ident debuted in 1980 and was created (like the above) was made by taking a 3D model of a globe, rotating it while it was in front of a mirror and placing a BBC logo in front of the camera. As the globe rotated the background (the reflection of the mirror) would also rotate. An earlier version of this logo (which originally debuted in 1969) was recreated with CGI in 2007 to introduce series 2 of Life On Mars, the show was set in the 1973. This version's movement was made using key-frames (making a slight movement every frame)

This ident was introduced in 2006 and was made using a CGI software (as it was now available, as opposed to the models used years before)
The BBC have now adopted using circles in their indents compared to the earth indents used previously. The hippos (seen on there left in one of the many variations of the circle ident) are circling around the BBC logo, they are most likely on the X and Y axis.

This is the standard WB (Warner Brothers) logo. It was made in a 3D modelling software (possibly similar to After Effects)
The clouds the logo normally appears from were also possibly computer generated. The logo and the clouds are two separate layers,
both the clouds and the logo are on the Z and Y axis, with the clouds slowly moving across the screen (Y) and the logo zooming out and rotating downwards to face the virtual camera (Z) The music would also be on a separate layer.
This is a variation of the WB logo used in the movie 'The curious case of Benjamin Button', the logo is formed out of buttons that fall from the above. The buttons were most likely animated by a program similar to After Effects whereby a single button was animated in a falling motion (on the X axis) and was duplicated with varying colours. The animation is also different compared to the origional logo.
The final variation I will be talking about is the WB logo from The Matrix. The logo has the same animation as the standard one (the clouds slowly moving across the screen and the logo zooming out and rotating downwards to face the virtual camera) although the clouds are much darker and more like lightning-type ones and the entire logo is green; to continue the theme of the movie.
Ident/Ident preproduction/Ident Evaluation
Above it my mindmap for the ident.
The original idea for the ident was simply just 'MrRAWEEE' fading in, accompanied by my face and then fading out again. Below are my print screens detailing the creation of the ident:
There is no real reason for this section of the ident other than the fact I thought it looked good.
Now the text was in focus and stationary, it was time to bring back the asteroid, only this time from the opposite side of the screen (motion tracking played a big part in the ident.)
The ident ends with the asteroid slamming into the text and knocking it off-screen. I did this to add a comedic-element to it as up until this point it had been quiet serious and bland. Although there is no sound throughout the ident, if I were to make it again/make adjustments to it I would definitely add sounds .
Wednesday, 11 December 2013
After Effects - Lesson 7
Thursday, 5 December 2013
After Effects - Lesson 6
Wednesday, 4 December 2013
After Effects - Lesson 5
After Effects - Lesson 4
In this lesson, we placed Deform pins using the Puppet Pin tool and defined areas of overlap using the Puppet Overlap tool. Stiffened part of an image using the Puppet Starch tool. Animated the position of Deform pins and smoothed motion in an animation. Recorded animation using the Puppet Sketch tool.
After Effects - Lesson 3
Previewed animation presets in Adobe Bridge, animated text using keyframes, animated layers using parenting.
Edited and animate imported Adobe Photoshop text. Used a text animator group to animate selected characters on a layer. Applied a text animation to a graphic object.
After Effects - Lesson 2
Next we adjusted the time range of a text animation preset and precomposed the layers. Applied a dissolve transition effect, adjusted the transparency of a layer and rendered an animation for broadcast use.
Wednesday, 27 November 2013
After Effects Stuff | Lesson 1
In this lesson it was necessary to use the Project, Composition and Timeline panels, we had to create a project and import some footage consisting of dancing women; The first step was to create compositions and arrange the layers. Next we applied basic keyframes and effects; customised the workspace and adjusted the preferences related to the user interface find additional resources.
Subscribe to:
Posts (Atom)